When it comes to repairing or replacing mechanical components, having the right tools is crucial. One such tool that proves to be handy in various situations is the puller set. Whether you're working on a car engine, industrial machinery, or even home appliances, a puller set can come to your rescue. In this blog post, we will explore the assembly method of a puller set and understand how it can simplify your repair tasks.
1. Understanding the Components of a Puller Set
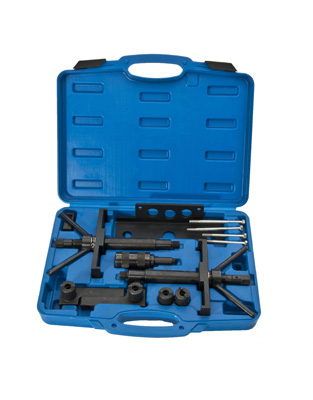
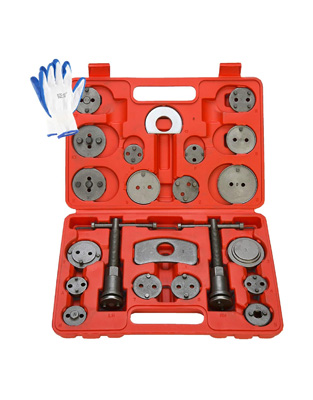
Before delving into the assembly process, it is important to familiarize yourself with the various components of a puller set. Typically, a puller set consists of a central screw, two or three arms, and a variety of attachments. These attachments can be hooks, jaws, or even pins, depending on the type of puller set you have.
2. Preparing for Assembly
To begin the assembly process, make sure you have all the necessary components laid out on a clean and well-lit workspace. This will help ensure that you don't misplace any parts and will provide you with ease of access during assembly. Additionally, check the condition of the puller set components for any signs of wear or damage. Replace any damaged parts before proceeding further.
3. Attaching the Arms to the Central Screw
To assemble the puller set, start by attaching the arms to the central screw. Depending on the design of the puller set, you may need to slide the arms onto the screw or screw them in using a provided threading mechanism. Make sure the arms are securely fastened to the screw to avoid any mishaps during the pulling process.
4. Installing the Attachments
Once the arms are securely attached, it's time to install the desired attachments. Different attachments serve various purposes, depending on the type of pulling task you are undertaking. For instance, hooks are useful for pulling out bearings or gears, while jaws are suitable for gripping onto shafts or pulleys. Choose the appropriate attachment for your task and securely fasten them onto the arms.
5. Adjusting and Testing
After assembling the puller set, it's important to adjust the arms and attachments according to the size and shape of the component you are planning to pull. This will ensure a secure grip and prevent any damage to the component or the puller set itself. Once adjusted, perform a quick test by applying a moderate force to see if the puller set can successfully extract the component. Adjust as necessary to achieve optimal results.
A puller set is an indispensable tool for any mechanic or DIY enthusiast. By understanding and following the assembly method outlined above, you can ensure your puller set is ready to tackle any pulling task with ease and efficiency. Remember to invest in a high-quality puller set from a trusted brand, such as Bruide, to ensure durability and long-term effectiveness. So, next time you face a repair or replacement project, don't forget to rely on the power of a functional puller set to make your life easier.
 EN
EN

