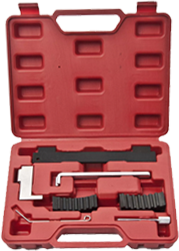
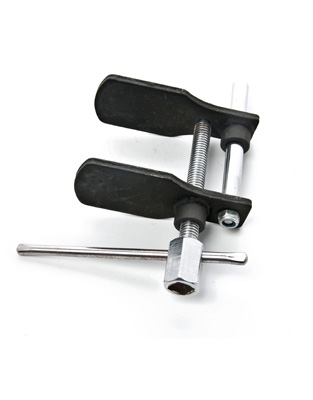
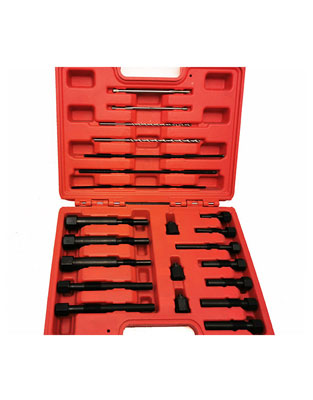
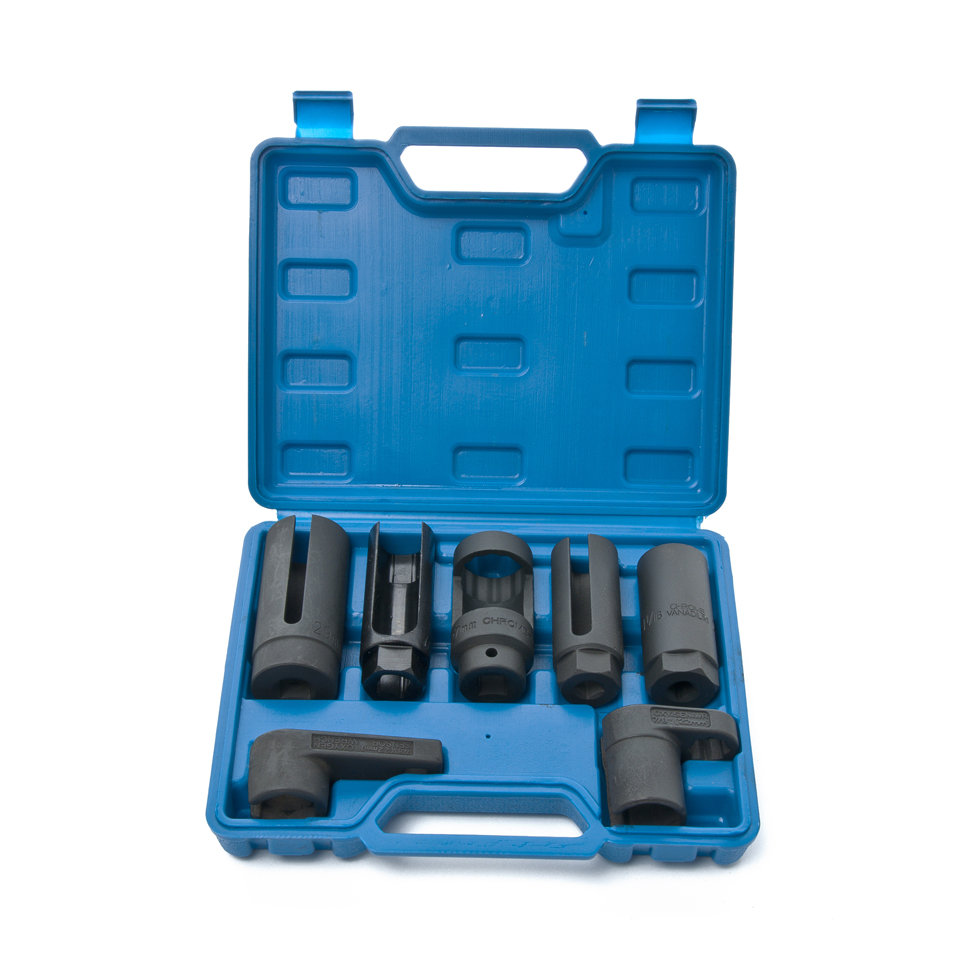
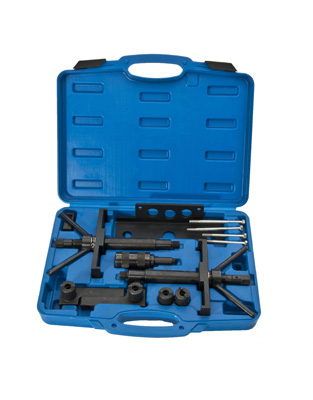
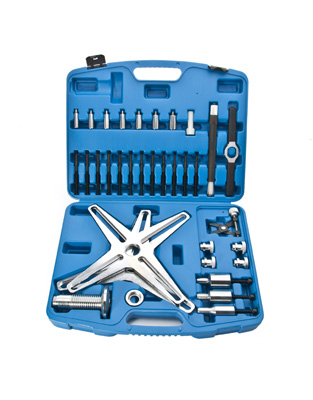
Welcome to our blog post discussing the correct way to install a clutch puller tool. When it comes to maintaining and repairing your vehicle's clutch system, having the right tools and following the correct procedures is crucial. In this article, we will provide a step-by-step guide for installing a clutch puller, focusing on the popular Bruide brand. Whether you're an avid DIYer or a mechanic looking for a quick refresher, this guide will help you ensure a smooth installation process and maximize the longevity of your clutch system.
Understanding the Importance of a Clutch Puller
Before diving into the installation process, it's important to understand the significance of a clutch puller. A clutch puller is a specialized tool designed to remove the clutch assembly from the engine shaft safely. As the name suggests, it allows you to "pull" the clutch off effectively, minimizing the risk of damage to both the clutch and engine components. A clutch puller not only simplifies the removal process but also enables better access for inspecting and replacing worn-out parts, ensuring optimal performance of your vehicle's clutch system.
Gathering the Right Tools and Preparing the Workspace
Installing a clutch puller requires a few essential tools and some preparation. First and foremost, make sure you have the correct clutch puller tool designed specifically for your vehicle and clutch system. In this case, we will focus on the Bruide brand clutch puller.
Here's a checklist of tools you will need:
1. Bruide clutch puller tool
2. Socket wrench set
3. Torque wrench
4. Ratchet and extension bars
5. Allen wrenches
6. Screwdrivers (phillips and flathead)
7. Safety glasses
8. Protective gloves
Additionally, it is crucial to prepare a clean and well-lit workspace. Ensure you have enough room to move around and access all necessary parts without any obstructions. Remember to consult your vehicle's manual for any specific directions or precautions before starting the installation process.
Step-by-Step Guide to Installing a Clutch Puller
Now that you have gathered all the necessary tools, let's dive into the step-by-step process of installing a clutch puller. Follow these instructions carefully to ensure a successful installation:
Step 1: Vehicle Preparation
a. Park your vehicle on a flat surface and engage the parking brake for safety.
b. Disconnect the negative terminal on the battery to prevent any electrical mishaps during the installation.
Step 2: Accessing the Clutch Assembly
a. Depending on the make and model of your vehicle, you may need to remove specific components or panels to access the clutch assembly. Consult your vehicle's manual to identify the exact locations and steps required.
Step 3: Removing the Retaining Bolts
a. Locate the clutch retaining bolts securing the clutch assembly to the engine shaft.
b. Using the appropriate socket wrench, carefully loosen and remove the bolts. Keep them safely aside for reassembly.
Step 4: Attaching the Clutch Puller
a. Take your Bruide clutch puller tool and ensure it is in good working condition.
b. Align the clutch puller with the clutch assembly, making sure it fits snugly over the clutch plate.
c. Use the ratchet or socket wrench to secure the clutch puller, ensuring it is tightly attached.
Step 5: Applying the Pulling Force
a. Slowly apply pressure to the clutch puller tool, ensuring it is centered and aligned correctly.
b. Gradually turn the puller tool clockwise until you feel resistance. This will gradually release the clutch assembly from the engine shaft.
c. Continue turning until the clutch assembly is completely separated.
Step 6: Inspecting and Replacing Clutch Components
a. With the clutch assembly successfully removed, inspect the clutch plate, disc, and release bearing for any signs of wear or damage.
b. Replace any worn-out or damaged components with compatible parts from trusted manufacturers.
Step 7: Reassembling the Clutch
a. Clean the clutch assembly and engine shaft thoroughly before reassembling.
b. Follow the reverse order of steps to install the clutch assembly back onto the engine shaft.
c. Tighten the retaining bolts to the manufacturer's recommended torque using a torque wrench to prevent any complications.
Installing a clutch puller using the correct techniques and tools is essential for maintaining the effectiveness and durability of your vehicle's clutch system. By carefully following the step-by-step guide provided in this article, you can ensure a successful installation and avoid potential damage to clutch components or engine shaft. The Bruide brand offers reliable and effective clutch puller tools designed to simplify the clutch removal process. Remember to regularly inspect and maintain your vehicle's clutch system to ensure optimum performance and a longer lifespan.
 EN
EN

