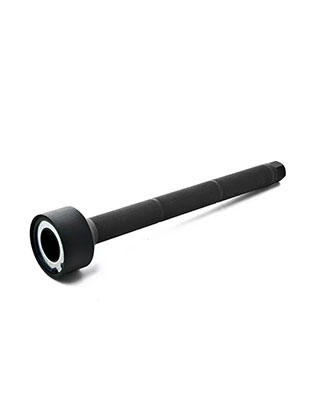
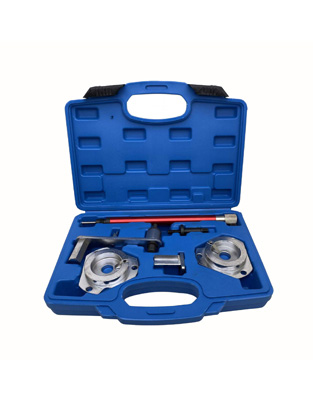
The manual tire bead breaker is a necessary equipment for car maintenance. Today I would like to share with you some helpful tips when use it.
1. When using an air shovel to shovel the high-quality but soft and thin top tire, you can slightly lift the air shovel control pedal, and at the same time push the tire inward to confirm that the shovel is in contact with the tire mouth, and then use your legs or hold your hand to prevent the tire from retreating, and then step on the control pedal, it is easier to shovel the tire at this time;
2. For tires that have been used for a long time, the tires have been exposed to internal air pressure for a long time, and the heat generated by the friction between the tires and the ground will cause the tires to bond to the steel ring. When the air shovel is difficult to shovel, you can first dissolve the detergent in water, use a small brush to brush more solution on the bead lip and the steel ring, and wait for the solution to penetrate into the gap between the bead lip and the steel ring, and then use the air shovel to shovel it. lower tire;
3. For tires with a hard bezel, it is better to use a manual tire bead breaker with trolley spring steel plate when removing the tire. It is easier to pry the tire bezel with a self-made extended crowbar to the bird's head. When putting on the tire, press the belly of the tire with both hands. When the gap is about 200mm and the tire mouth is at the tightest point, press the belly of the tire with your right elbow. At the same time, push the tire clockwise with your left hand to prevent the motor and the V-belt from slipping. Also protects the motor.
Tire Clamping Method
Remove the balance weight (counterweight) from the tire first without damaging the edge of the hub so that the jaws can properly grip and lift the wheel. During wheel clamping and tire changing operations, check the wheel clamping frequently. The clamping of the hub is completed by a hydraulic device, and the clamping depends on the structural design of the hub, which is divided into clamping from the inner cavity and clamping from the outer ring. Tire clamping method:
1. Lift the disassembly lever outward;
2. Move the carriage to the outer position;
3. Position the tire on the pallet so that the disassembly disc is located on one side of the jaw, and the clamping jaw can be placed at the position determined by the clamping mode;
4. Raise the claw arm so that the claw reaches approximately the middle of the tire;
5. Lift the claw arm to open the claw, so that the claw is in the clamping position;
6. Use the carriage to move the tire to the claw, clamp the tire with the claw, check whether it is clamped well, and then rise to the working height;
7. Install the safety protection frame. When the tire exceeds 200 kg, the safety protection frame must be placed on the pallet;
8. Install special clamping claws. When clamping alloy steel rings, claws with self-locking function should be installed.
Manual tire bead breaker maintenance and precautions
1. Before maintenance, the power and air source must be disconnected;
2. After the daily operation, the machine must be carefully wiped, and the sliding and transfer parts should be lubricated frequently;
3. Check the gas-water separator and lubricator frequently. When there is too much accumulated water, it is released in time, and when the oil is insufficient, it is replenished in time;
4. Ensure that there is enough lubricating oil in the reduction box. You can see the oil level from the oil window. Open the plastic cover in the center of the workbench, unscrew the bolts, and refuel from the bolt holes.
Mastering the small skills of using the manual tire bead breaker can not only improve work efficiency but also quality. Have you learned it?
 EN
EN

